Hi Ogden Clinic Readers,
I’m Celeste from Life After Wheat and I’m so excited to be here on Healthy You sharing one of my go-to healthy recipes!
I know how hard it can be to find healthy options that the whole family will love. Options that can be made ahead of time and are portable for busy days, or just something you can throw together quickly to get a nutrition boost that will carry you through the day.
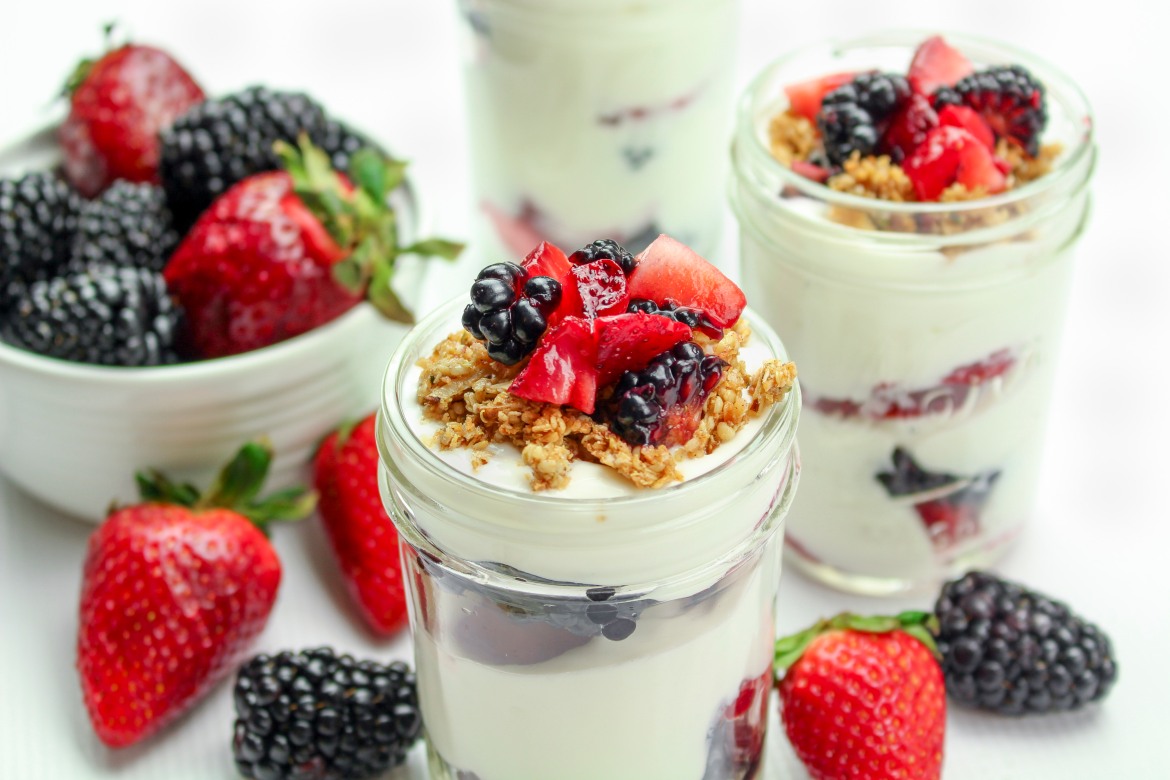
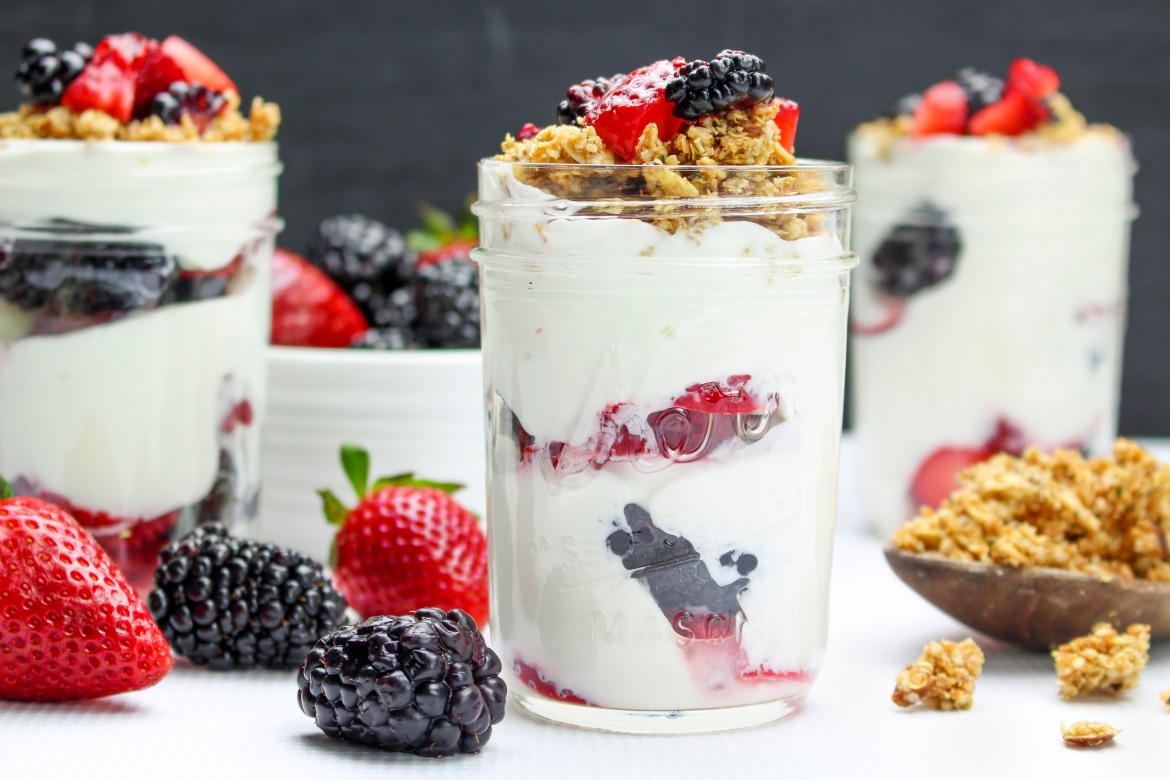
One of our family’s go-to recipes is this easy yogurt parfait. It’s packed full of protein, easily customizable to your family’s taste, AND can easily be made gluten-free, fat-free, soy-free, and even dairy-free if you need those options.

Making healthier choices is all about swapping processed, pre-packaged foods for more natural alternatives. Our bodies crave real foods that are naturally packed with nutrients and fuel we need in our busy lives. Next time you hit the grocery store, try shopping the edges to find more healthy options. Start by loading your cart in the produce section and try something new every time you go! Make it an adventure with your picky eaters by letting them pick a new fruit or veggie and then helping to research and prepare it once you get home. You never know when you’ll find a new favorite!
Choosing Fruit
We’ve used all kinds of fruits in these parfaits, feel free to experiment with different combos or just use whatever you have on hand! Even frozen fruits that have been slightly thawed are a great option.
Here are a few ideas to get you started:
- Blueberry Peach
- Triple Berry
- Strawberry Kiwi
- Blackberry & Blood Orange
- Strawberry Banana
Choosing Yogurt
When you get to the dairy section, look for plain Greek yogurt which has more protein and less sugar. We like to sweeten it with a little local honey and/or stevia, that way we decide what goes in and how much sugar we’re consuming. Read the labels. You’ll notice that even though there is no sugar added in plain Greek yogurts, there is still a difference in the amount of sugar per serving amongst different brands. I go for Chobani or the Kirkland brand at Costco because they have a short ingredients list and only 6 or 7 grams of naturally occurring sugar per serving. If you can’t tolerate dairy, look for an option that has no more than 7 or 8 grams of sugar (Silk brand carries an almond and a soy-based option that fits this).
Choosing Toppings
The final ingredient that you’ll need is granola. Since my husband is allergic to oats, we spent some considerable time developing a granola recipe that is healthy, natural, and tastes like, well, granola. It’s what we always use to top our yogurt parfaits and you can find the recipe HERE. Feel free to use your own recipe or something from the store, just shoot for a healthier option.
Here are a few suggestions:
- Look for natural sweeteners such as honey.
- Go for the lowest sugar content you can find. Some granolas have over 20 grams of sugar for a 2/3 cup serving!
- The shorter, the better. Long ingredient lists aren’t always bad, but most real, natural products have a shorter list of easily recognizable ingredients.
- Since you’ll be adding fresh (or frozen) fruit, opt for a granola that doesn’t have raisins or other fruits added.
There you go! You have everything you need to make these Easy Yogurt Parfaits. Layer them in a mason jar with a lid to make them portable. You can make them the night before, just pack the granola separately so it stays crunchy. They’re great for breakfast, after-school snacks, or grab-n-go lunches.

EASY YOGURT PARFAITS
- 1 ½ cups plain Greek yogurt, or dairy-free alternative
- Sweetener to taste. We use 2-3 tsp honey which leaves it a bit tart. The fruit helps sweeten it, too.
- ~1 cup fresh or frozen (mostly thawed) fruit
- ½ cup granola
Blend yogurt with a sweetener of your choice. In two bowls, cups, or pint-sized mason jars, layer ¼ cup yogurt, ¼ cup fruit, and repeat. Add one more layer of yogurt and top with granola and a little extra fruit if you want. You can also use 3 (8 oz) mason jars for smaller servings (these are great for an after-school snack the kids can grab on their own!)
Hope you enjoy these!
Celeste
Blog: ThereIsLifeAfterWheat.com
You can also find me on Facebook, Instagram, Pinterest, and Twitter


.4).2511050842400.png)
.jpg.2511241144379.webp)